Dear Caitlin,
You came to visit three weeks ago – and I’m finally memorializing this pie we made. Since then, I have turned 27, and you have become famous. Say what?! I saw your Dad put pictures of you on the news. Go Cait!
To the general blogosphere: Caitlin’s dad makes this amazing artwork, and he prints some of it on scarves. Check them out! These scarves were recently showcased during Austin fashion week, with our one and only Caitlin modeling. She’s a woman of many talents.
Caitlin: I’m running a few weeks behind on my baking projects, as you probably guessed. I hope to have my birthday cake finished in time for the Fourth of July. I wish I could say that I just need to post it, but, well, I also need to bake it. Life gets in the way of cake sometimes. (First world problem?!)

I had great expectations for our first post-blog, in-person shared baking experience. Unfortunately, I think we both agree that this wasn’t quite it. This pie was more sour than I had hoped it would be, and the rinds were chewy in a not-delightful way.
I did some research, and I think our problem was our inability to procure Meyer Lemons. The generic variety we used has a thicker skin, and a tarter taste than Meyers. In the future, since I don’t think any grocery stores carry Meyer lemons here, I think I will try a quick boil before slicing the lemons. I’ll let you know if it works out. Of course, with Austin’s abundance of grocery stores, I am sure you can procure the real deal. Geez, Austin, quit showing us up.
Nevertheless, with that less-than-glowing review, this pie was definitely still tasty- it just definitely needed ice cream, too.
Fruit gets mixed with sugar.

Once it sets, it turns into a candied substance.
If you’ll remember, I introduced you to my fake pie crust method. It’s truly beautiful, because, as you witnessed, it’s astonishingly difficult to mess up.
This pie recipe was meant to be a press-in bottom crust recipe, as you see here.
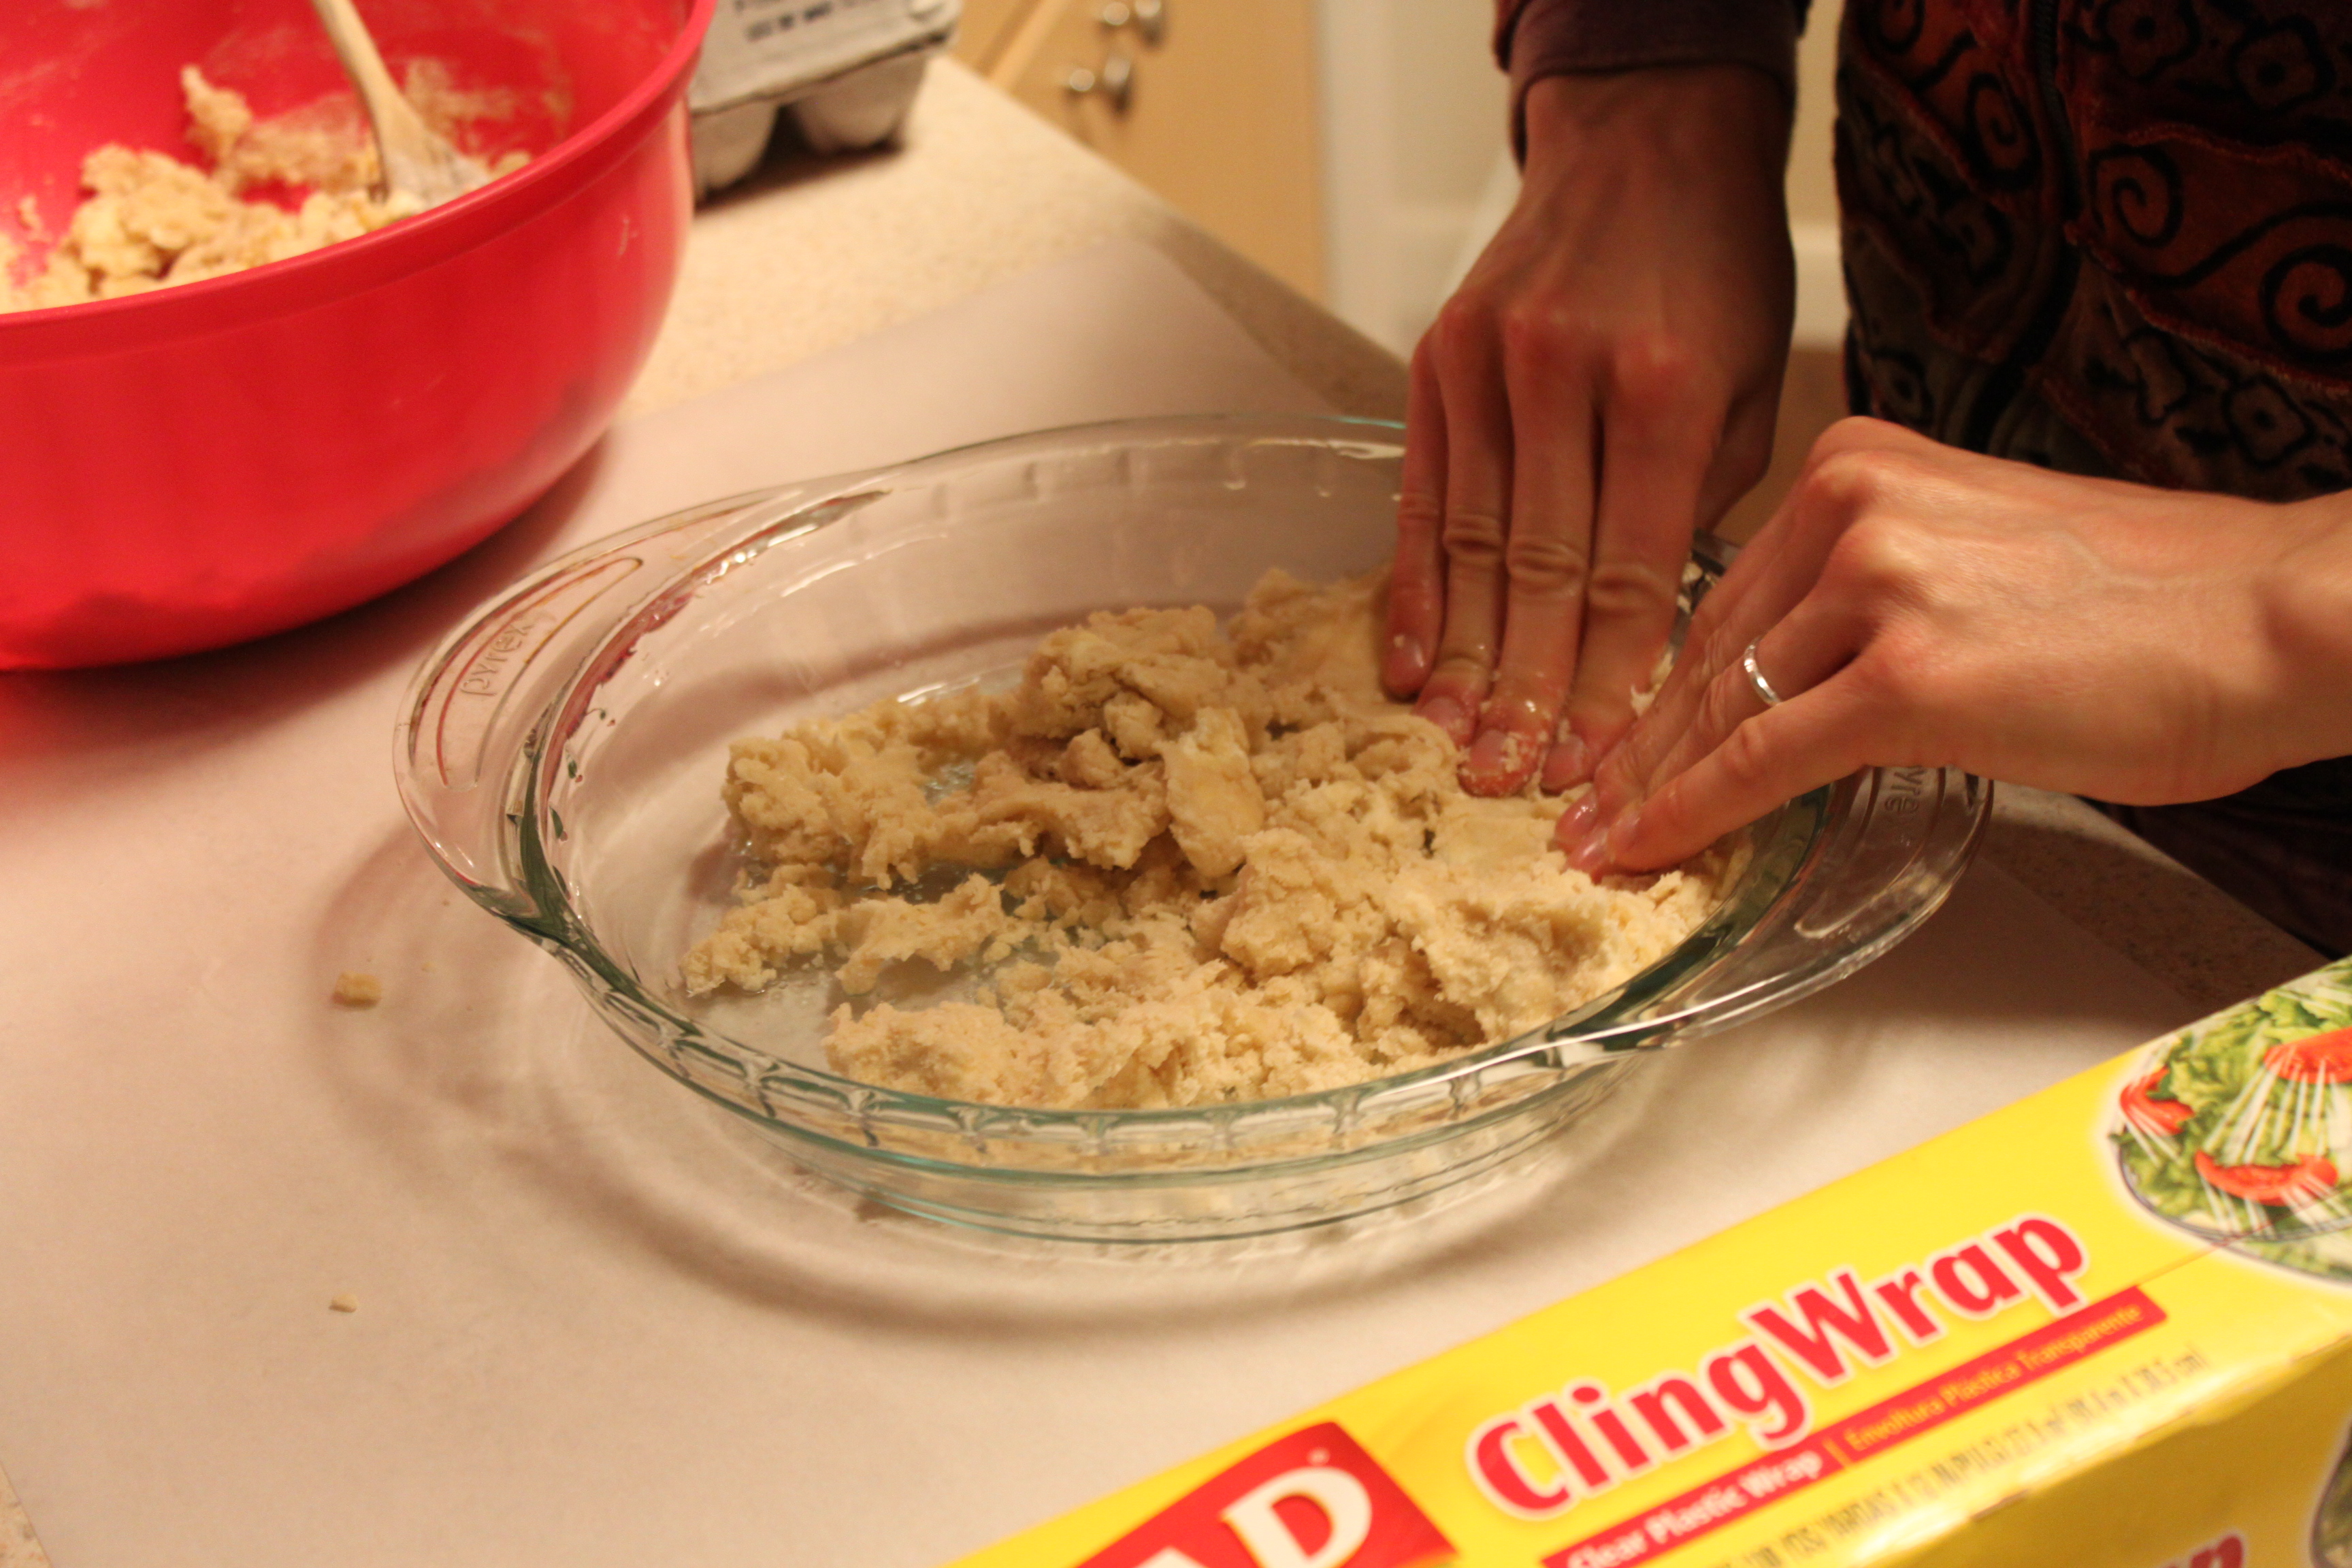
Rolling out pie crust is really stressful, but sometimes, I want a top crust, too. That’s where plastic wrap comes in.

The press-in pie crust gets pressed onto the plastic wrap. Pull out a piece big enough to fold back over the pie crust once it’s pressed into the right shape. Fold it over, pick it up, and flip it over the pie. Trust thyself.
It almost always works. I blame it on the pressure of the camera the fact that only half of the crust ended up lying on the pie.
That only reveals the beauty of this recipe. We were able to pick out the collapsed pie crust and piece it together like a puzzle. The end result was still beautiful:

I’ll go to great lengths to avoid rolling out a pie crust. No one needs that stress in their life on a typical weekend. Save that nonsense for Thanksgiving.
Recipe
Pie Crust
Adapted in method only from Joy the Baker‘s Easy No-Roll Pie Crust
Ingredients
3 Cups All Purpose Flour
1 1/2 teaspoons Salt
1/4 Cup Sugar
1/4 teaspoon Baking Powder
8 Tablespoons Frozen Butter
1/2 Cup Vegetable Oil
2 Tablespoons Cream Cheese, or, another Tablespoon Butter
1/4 Cup Cold Milk
(1) Begin with frozen butter. Grate the butter over a cheese grater into a bowl. Place the bowl back in the freezer to chill while you work.
(2) Combine flour, salt, sugar, and baking powder in a large mixing bowl.
(3) Work butter and (if using) cream cheese into the dry ingredients. It should form a dry, crumbly mixture with pea-sized bits of butter remaining.
(4) Add milk and oil and mix. The dough will remain shaggy with bits of butter. That’s ok, go with it. It’s all getting pressed together later.
(5) Separate the dough into two equal sized chunks (again, the dough probably won’t be a ball, so don’t worry).
(6) Press one of the chunks evenly into a greased pie plate.
(7) Place the pie tin and the remaining dough in the freezer to chill while you assemble the filling (instructions below). When the filling has been placed in the pie tin, continue.
(8) Roll out enough cling wrap to cover two pie tins, side by side.
(9) On one side of the cling wrap, press out the remaining dough into a pie shape. Feel free to pick up the pie tin and see if it’s about right. You’ll want a little bit of overhang. Remember, this is supposed to be stress-reducing, not stress-increasing, so go easy on yourself.
(19) Place the empty side of the cling wrap over the pie and gently life. Bring the top crust to just beside the pie tin. Remove the cling wrap from the top and flip. Don’t do it slowly, just go for it. This works 9 out of 10 times when there is not a camera present.
Pie Filling
Published in the Kitchn, Shaker Meyer Lemon Pie
Ingredients
4-7 Lemons, Meyer by all means if you can get them. You’ll want to end up with 2 cups of sliced lemons.
2 Cups Sugar
1 teaspoon Salt
4 Large Eggs
1 teaspoon Vanilla
1 Large Egg, separated
2 teaspoons Sugar
(1) Preheat oven to 450 degrees. Slice lemons very thinly and pick out any seeds. Compile 2 cups of lemons.
(2) Toss lemons with sugar and salt. Set aside so that it gels.
(3)Whisk eggs and vanilla in another bowl.
(4) Brush the bottom crust in pie tin (see instructions above) with egg yolk from separated egg.
(5) Combine eggs and vanilla with lemons and sugar. Pour into bottom crust.
(6) Transfer top crust as per instructions above. If your crust doesn’t fall apart, leaving natural cracks, slice a few vents into the top crust.
(7) Bake pie for fifteen minutes at 450 degrees. Reduce temperature to 375 degrees and bake until crust is golden brown, about 30 minutes.
