Ah, Kaki, I’m so bummed to have missed a weekend of homemade bagels and Laura and festivities! I’ll have to make up a batch ASAP. And come visit you ASAP. Yes.
My current go-to weekend project is homemade yogurt.

(So, just a note: this has become a rather, um, thorough* look at my yogurt-making process. Don’t let that discourage you! It’s not hard, I’ve just learned a lot of little ways to make my process go more smoothly. You should totally try this even though I wrote a freakin’ novel below. Next time you’re at my place one weekend we’ll make some and you can see how easy it is even though it sounds crazy overwhelming.)
Making my own yogurt was a turning point in my cooking journey, as it was one of the first times I made something I thought you had to buy at the store. Kaki, it was so freeing, so empowering! I didn’t have to be dependent on the commercial options available to me; I could do it myself.
I’ve used a couple of different yogurt-making methods over the years and this one is my favorite. The process itself is pretty simple, so the timing of this recipe is what counts. And what timing! Thankfully if you use your slow cooker you don’t have to worry about adjusting the heat on the stove, but you do still have to check every once in a while to see what temperature it has reached. And you’ll want to do a bit of backward timing calculation, considering the final yogurt needs to culture for 12-ish hours; if you set it to culture at 4pm, it makes for an unfortunate morning. Sure, you can let it go to about a 14-hour culture period, but I wouldn’t go longer than that.
So here’s an example of how I plan it:
- Let’s just say I bank on getting up on Sunday around 10am (we are by now well aware of my non-morning-person status). So for the yogurt to culture overnight, it needs to be in its spot doin’ its thing at 10pm Saturday.
- I know with my slow cooker it takes about 4 hours to do the warming-and-cooling-the-milk process, and I always add a half-hour or so to give myself some leeway.
- That means I should start the process around 5:30pm**.
Great, a plan, I love a plan!
Once the timing is coordinated, I sterilize my equipment. By this of course I mean I put all of my tools into my slow cooker crock and pour a kettle of boiling water over them all. Low tech, for sure, and frankly I’m not certain it’s the most thorough method of sterilization. But heck, I haven’t had a problem with stray bacteria yet, or if I have it went unnoticed, so I’m going to stick with this method.
The tools you’ll need to sterilize are:
- your slow cooker crock,
- the slow cooker lid,
- a large spoon,
- a whisk, and
- a thermometer.

I use a meat thermometer because it was cheap, it has the right temperature range (er, well, close enough), and it will sit nicely in the vent hole of my slow cooker lid. If your slow cooker doesn’t have a vent hole then an instant-read thermometer may be your best bet, since you’ll need to be taking the temperature of your mixture multiple times, lifting the lid each time. I suppose a candy thermometer could even work in a pinch, though I’ve never tried it.
Okay! We’ve got timing! We’ve got sterilization-ish! Let’s get cookin’!
There are only three ingredients for homemade yogurt: milk, starter yogurt, and dry milk powder.

You can find dry milk powder in the baking aisle at the grocery story, where the sweetened condensed and evaporated milk cans are located. They come in a box, three packets to a box.
Set your slow cooker to High, and pour in one gallon minus 2 cups of milk***.
Open your packet of dry milk powder. You are going to very slowly shake the dry milk powder over the surface of the milk and then wait for it to dissolve before adding more.

This process takes forever and eventually you will lose patience and you’ll add more than you meant to and you’ll get a layer of milk powder that will just float there, not dissolving.

No worries, though! This is when we whisk. Take your sterilized whisk and give the milk a good whisking, incorporating all of the visible milk powder. As you get to the end of adding the powder you will have to whisk more frequently, since the milk is becoming thicker and less ready to absorb the powder. Just keep whisking every once in a while.
When you think you’re done, take your sterilized spoon and take a spoonful of milk and pour it back into the crock, to see if there are any large powdery clumps left on the spoon. If there are, just give it another good whisking. If not, you’re ready to set the lid and thermometer!
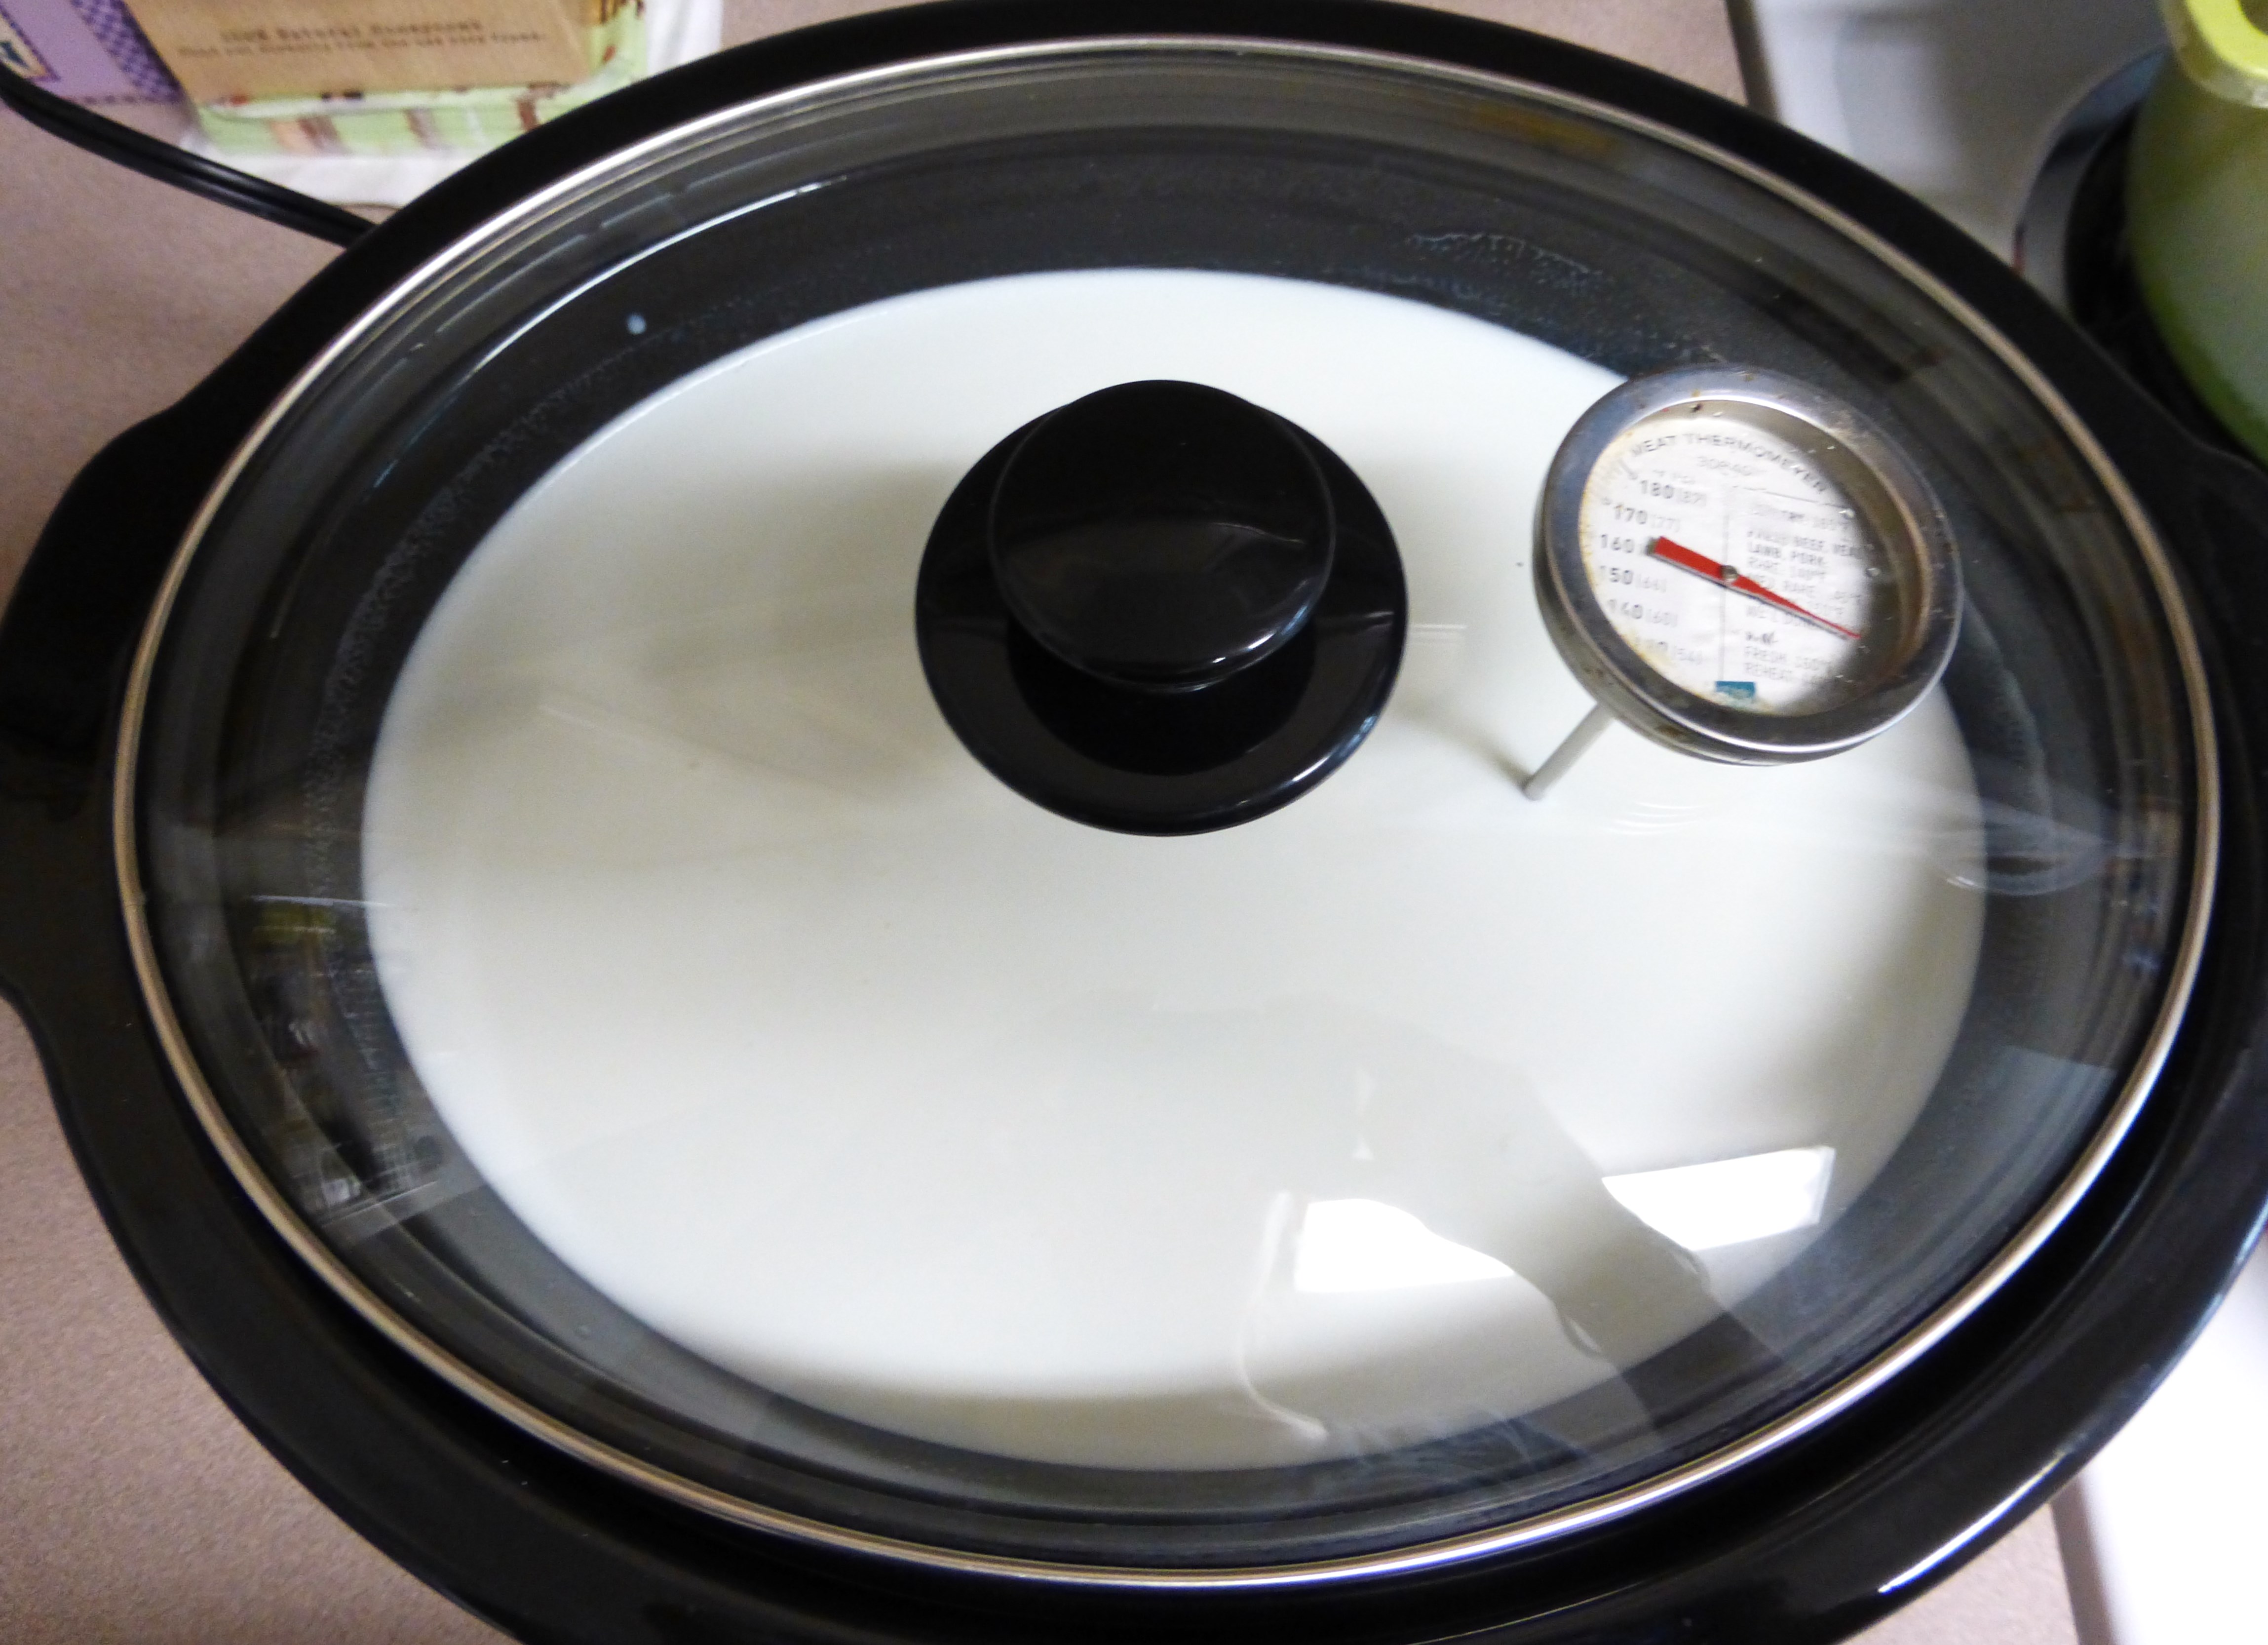
(See? The thermometer fits right in the vent hole in the lid. Perfect.)
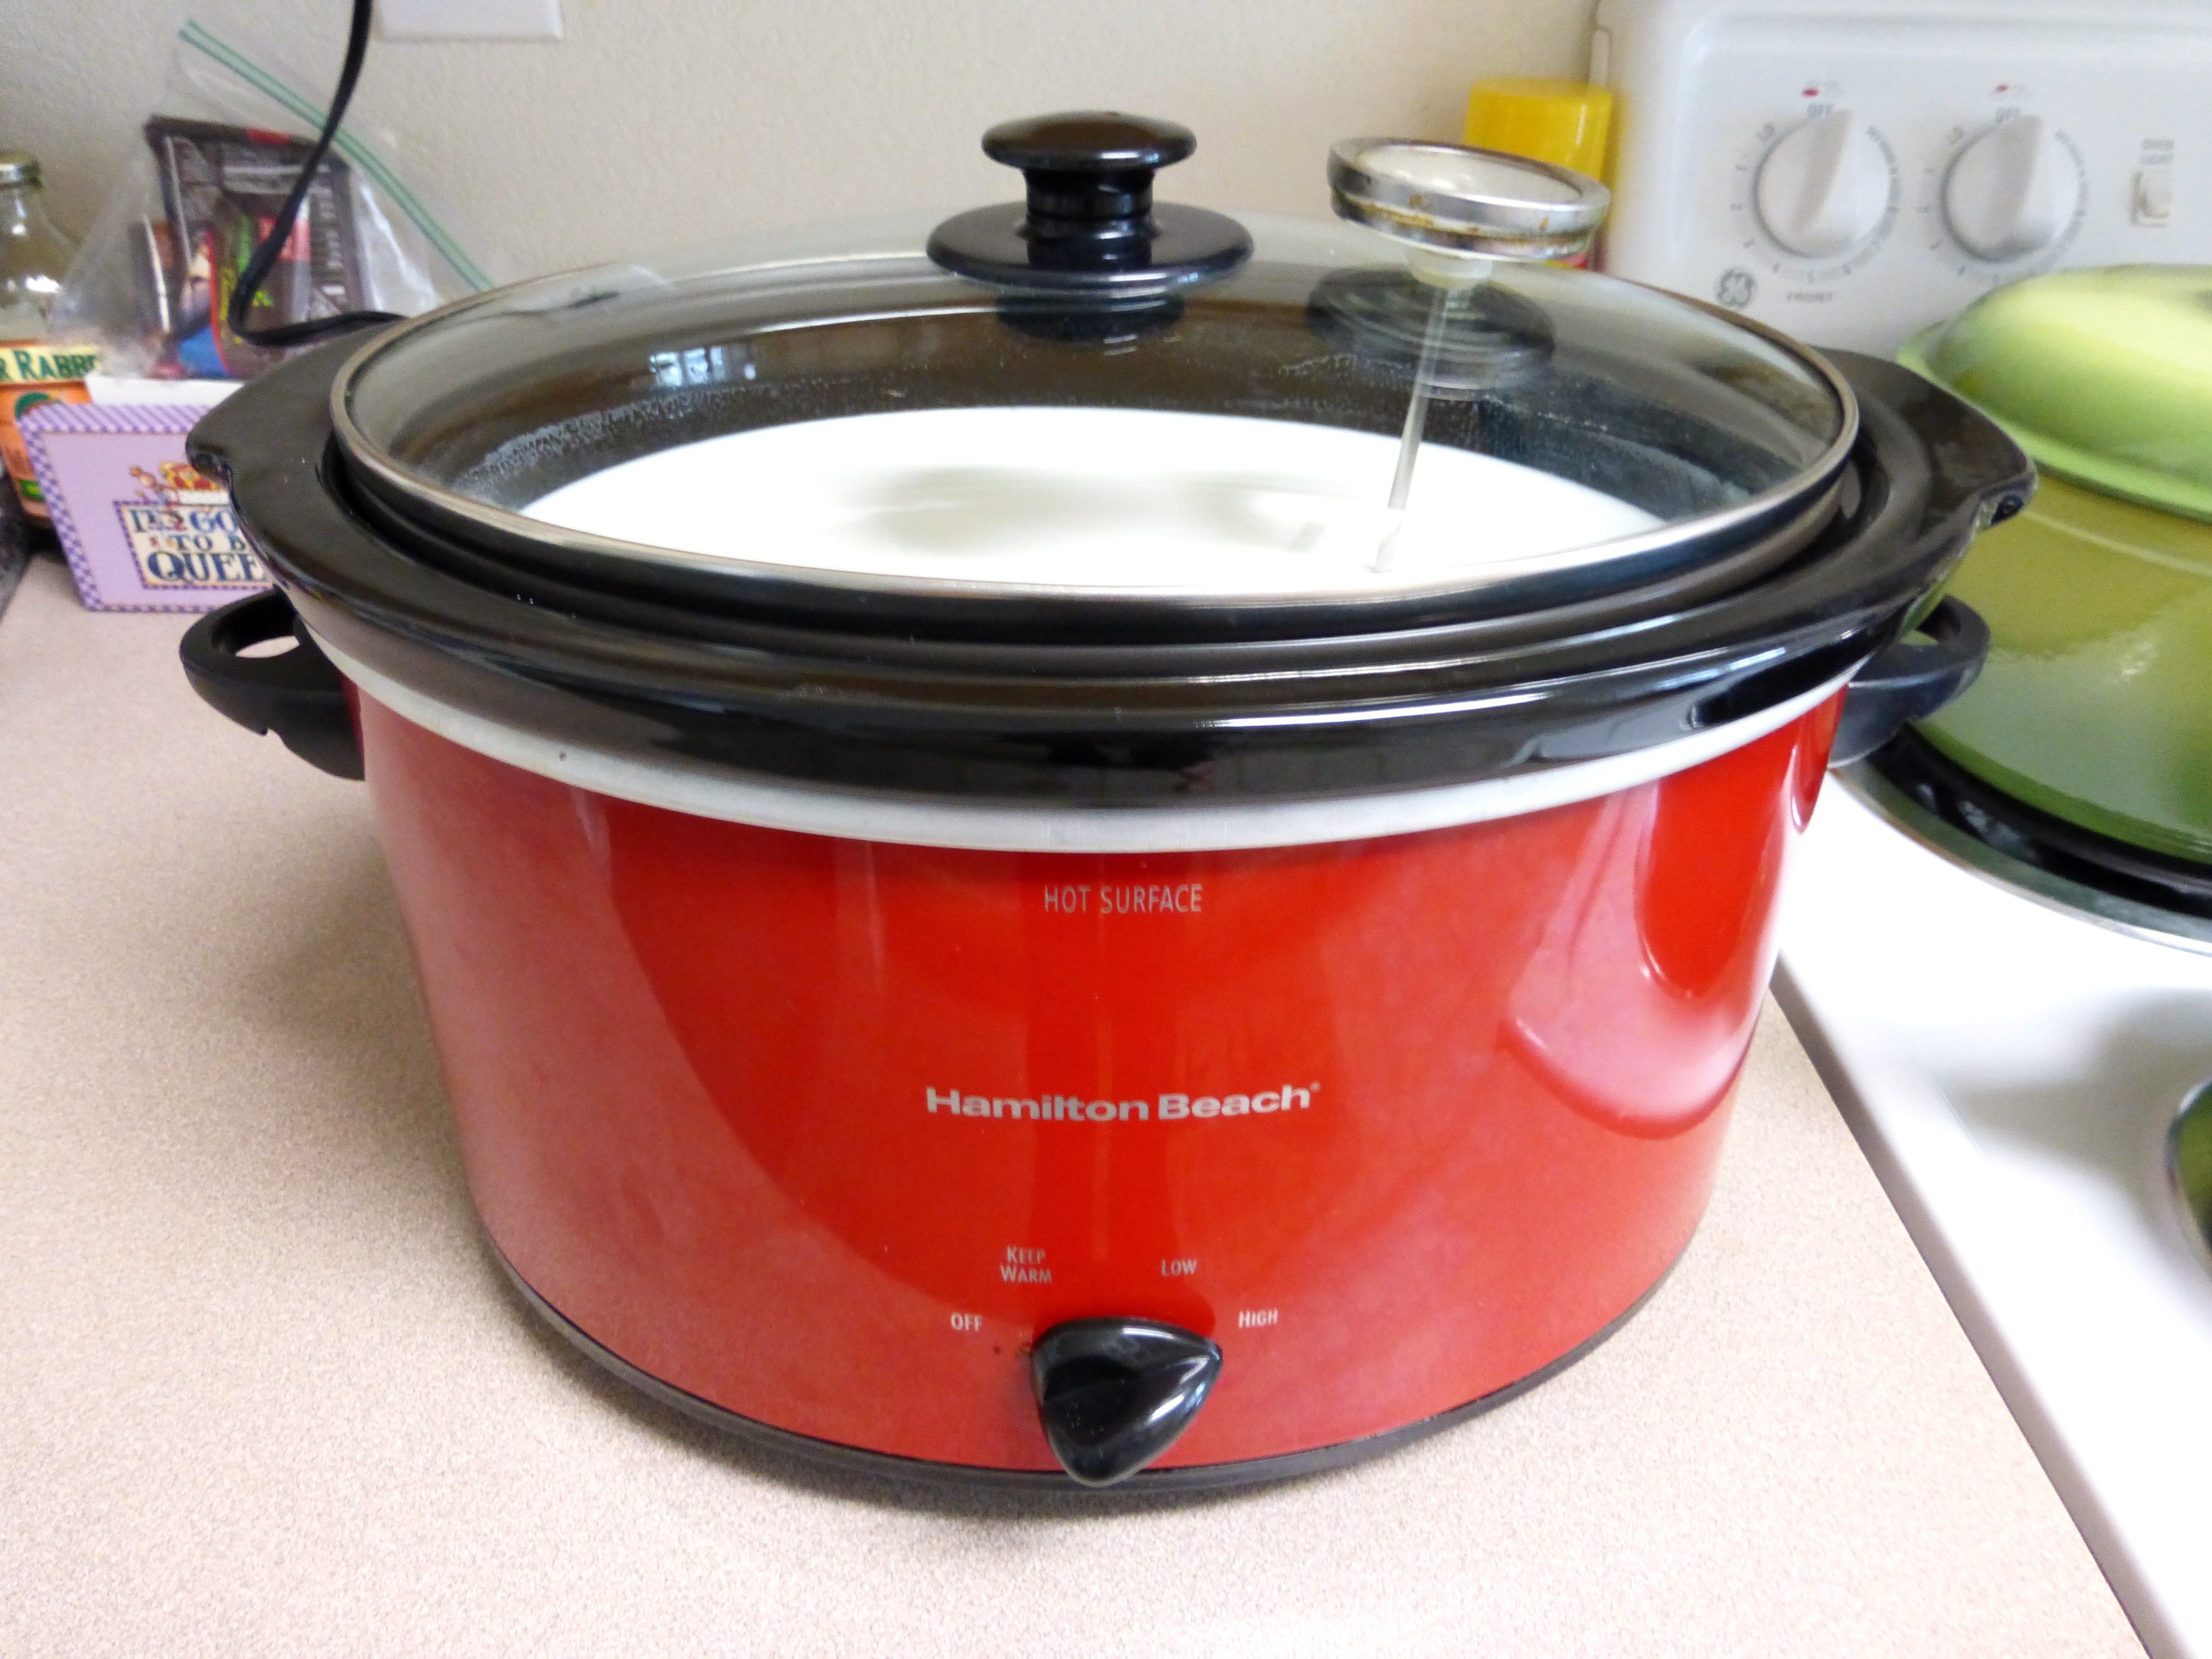
You’ll leave the milk heating on high until it reaches 180*F. This takes around two-hours and forty-five minutes in my slow cooker. (Netflix time! I mean, laundry and dishes time, obviously.)
Once the milk reaches 180*F, turn off your slow cooker. Rotate the lid of your slow cooker so that the thermometer is still in the milk but there is a vent for the milk to cool more rapidly.
Now you need to let the milk cool to about 115*F. This can take an hour or maybe an hour-and-a-half. Stir the milk every 20-30 minutes, using the stirring spoon to also skim off any skin that forms on the surface of the milk. You can even let the milk cool to as low as 95*F, but I never have the patience for that.
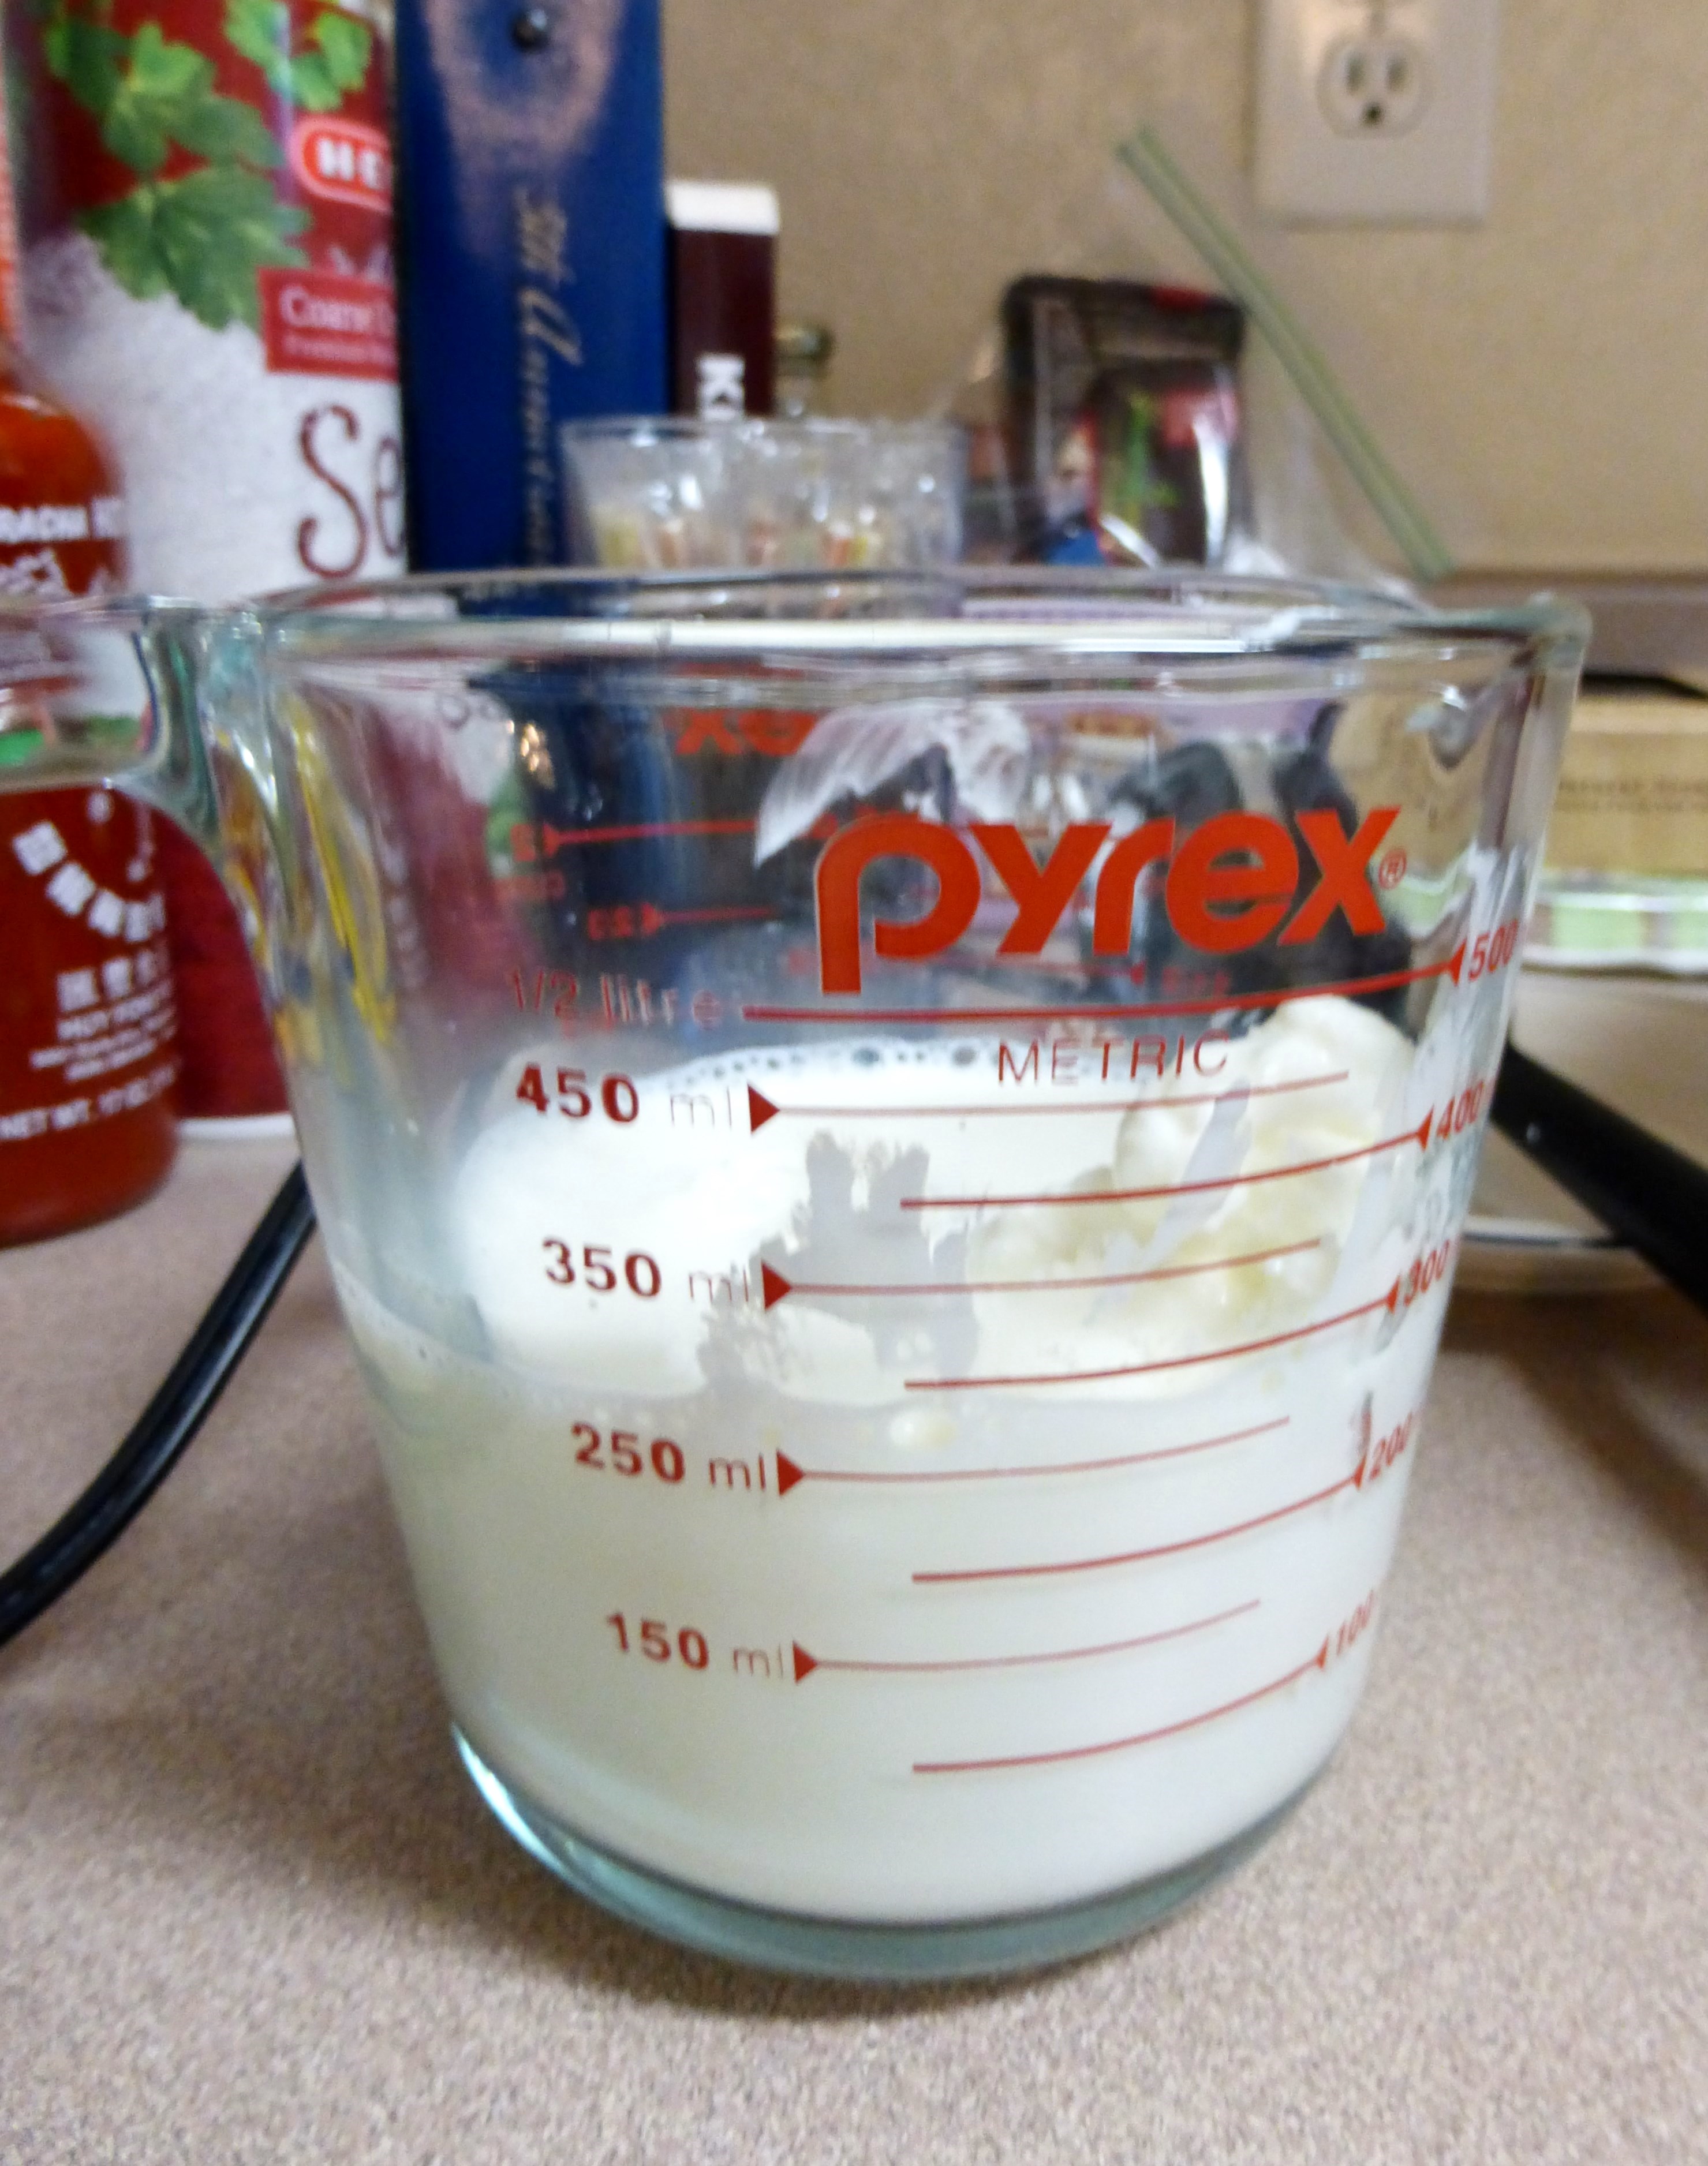
Once the milk is 115*F, you can incorporate the starter yogurt**** (any warmer and the heat will kill the yogurt bacteria instead of fostering its growth!). Empty your starter yogurt into a bowl or large measuring cup. Add a couple of spoonfuls of the warm milk mixture and stir to combine. You want the yogurt to be completely thinned-out by the warm milk so that it more easily mixes into the large amount of milk in the slow cooker.
Now pour the yogurt-milk mixture into the rest of the warm milk and give it a good stir of combine. You’re almost done!
Pour the warm milk-and-yogurt mixture into the jars or tupperware that you’ll be using to store it. You’re going to need to let these containers culture for 12-14 hours in a warm place. Some people turn the light on in their ovens and keep their containers of yogurt in there. I’ve done this in the past and it works just fine. However this afternoon I was also baking, and so had to use another method: put your containers full of the warm milk-and-yogurt mixture into a large styrofoam cooler. Heat up a heating pad (mine is a neck pillow full of rice that you microwave to heat, it’s great) and put that on top of the containers. Insulate the rest of the containers with any oven mits you have available.
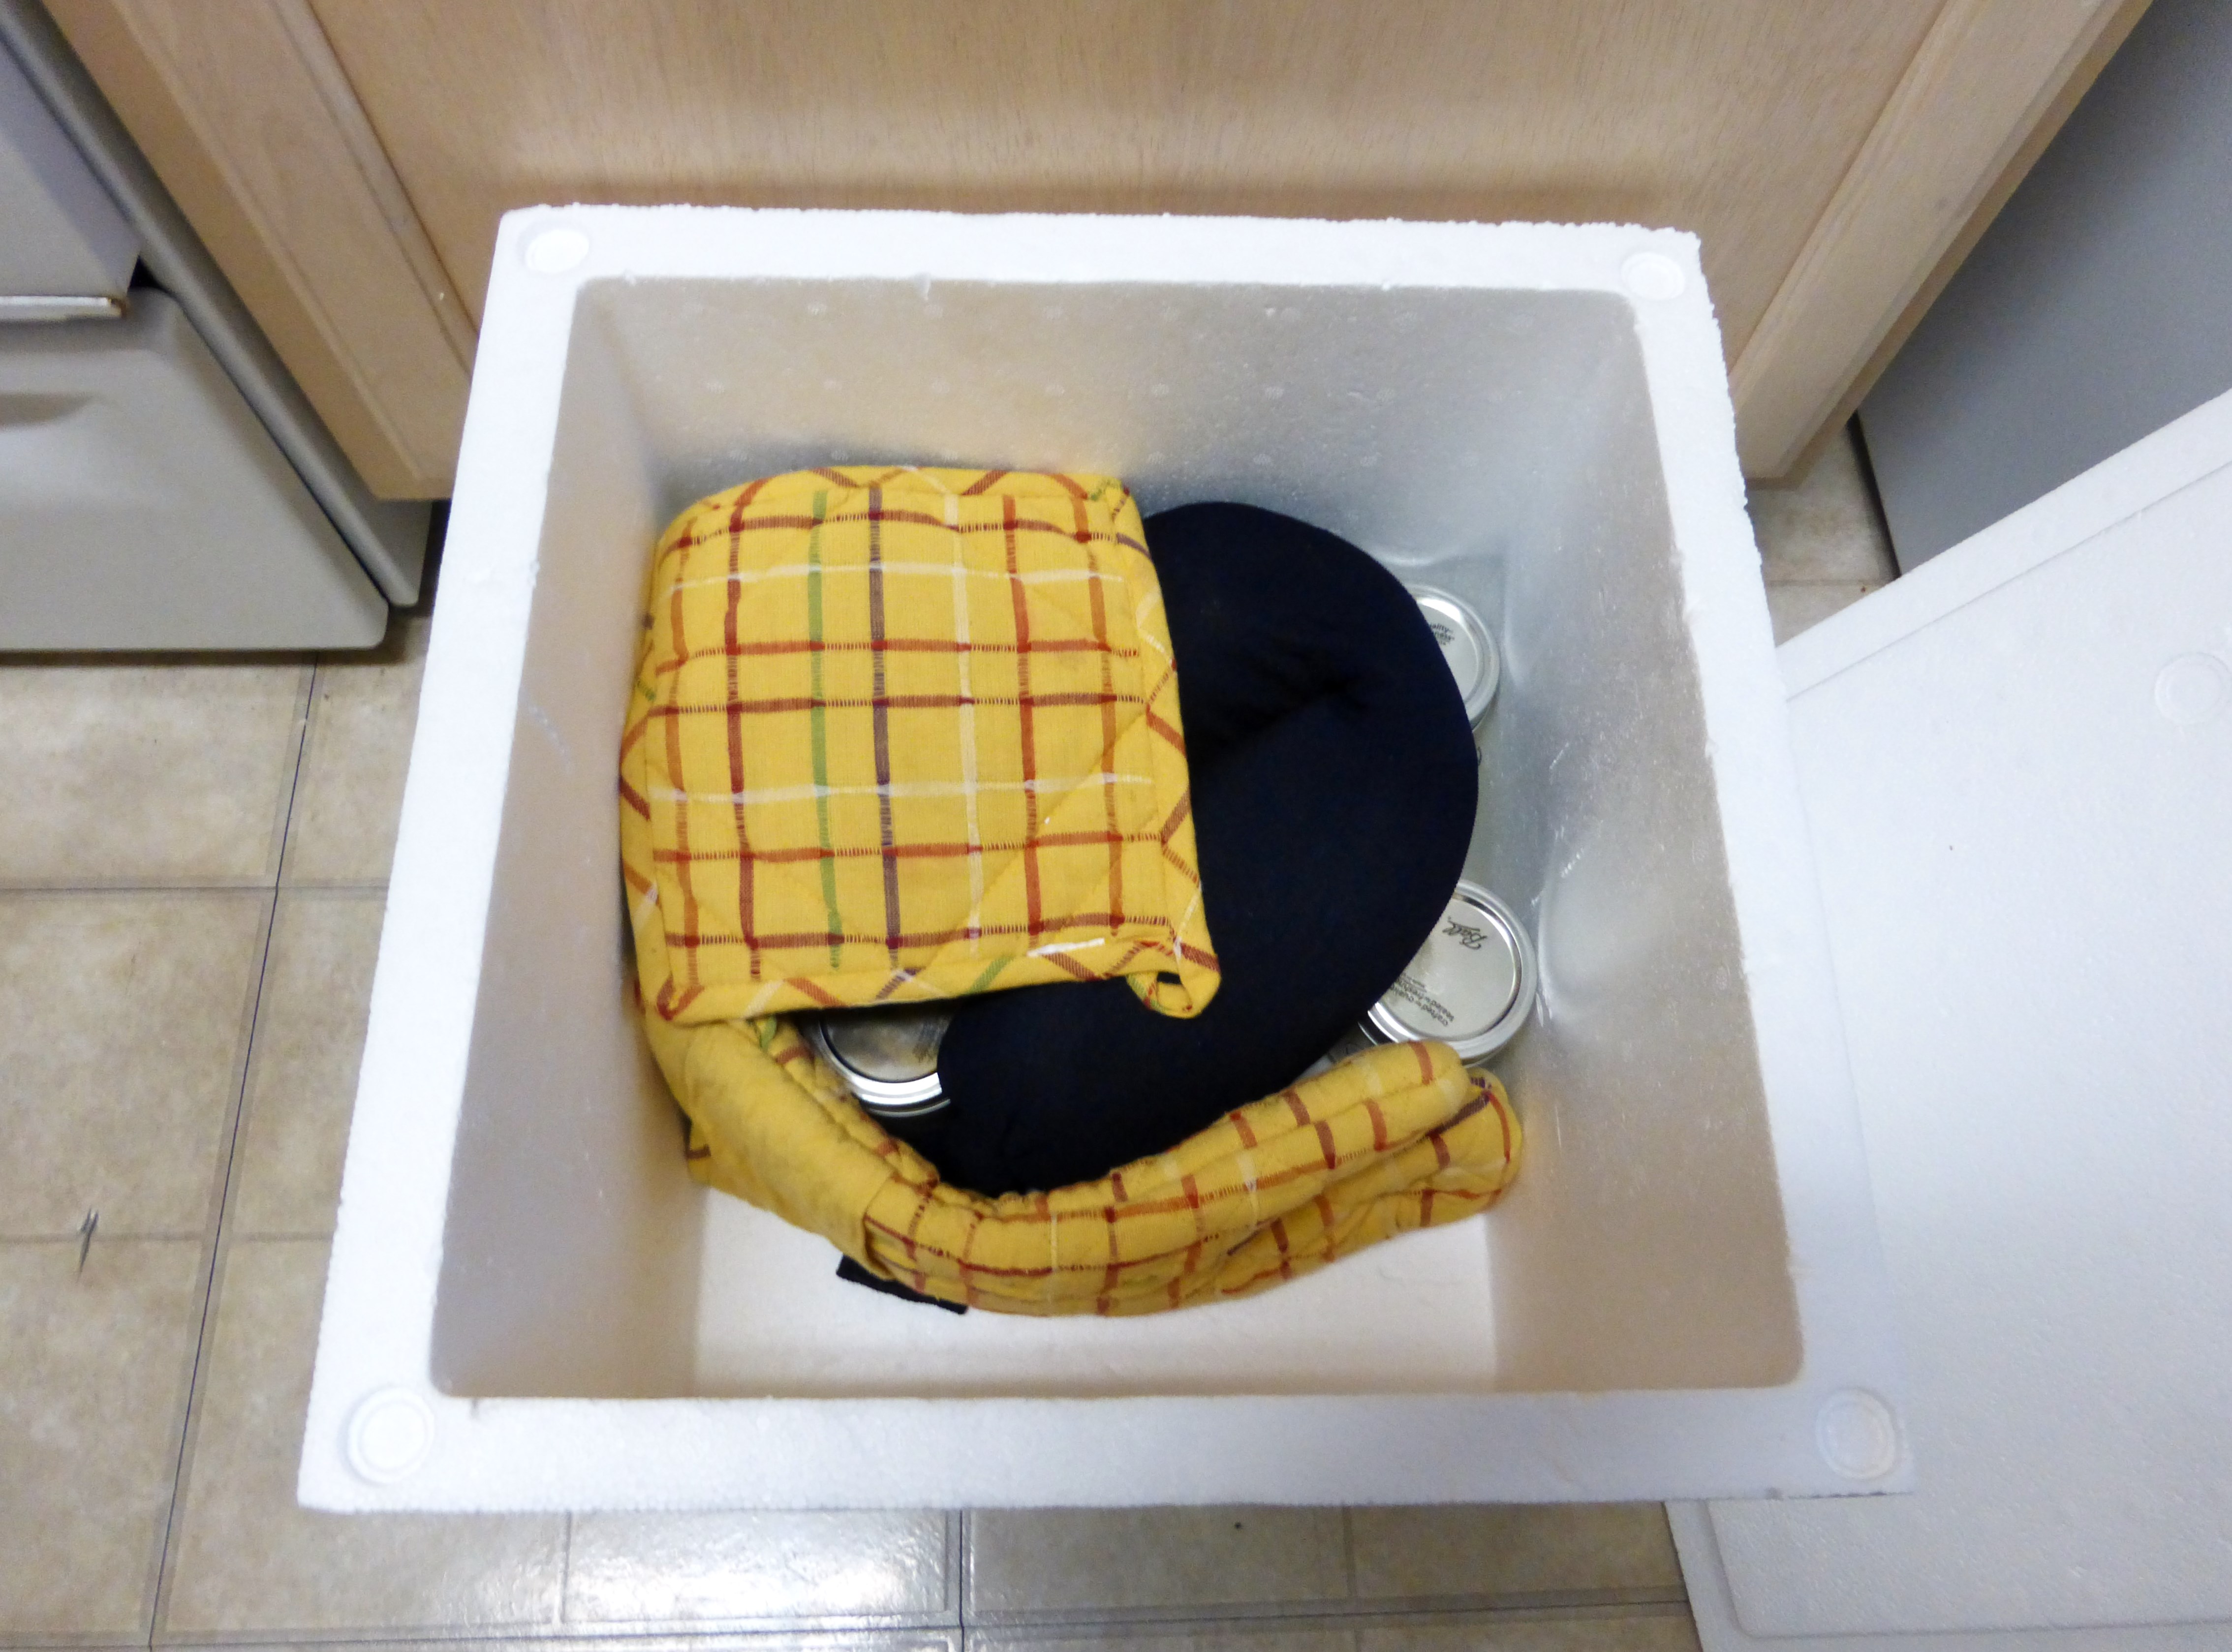
Then put the lid on the cooler. Now it’s all done but the waiting!
12-14 hours later, remove the containers from the cooler and put them in the fridge. Once it’s cooled it’s time to dig in!

I scooped some onto a plate to show you how thick it is. So creamy!
YUM. Gosh, I love this stuff. The first week it isn’t very sour, it’s very creamy. The second week it’s more the sourness of commercial yogurt. A batch this size lasts about a month for me. And you can use a cup of this as the starter yogurt for the next batch! If you remember not to eat it all, that is.
And that’s it! Here’s the condensed version:
Homemade Yogurt
makes about 14 cups of yogurt
(recipe time: 16-18 hours)
(adapted from One Good Thing by Jillee)
Ingredients
- 14 cups of milk (that’s one gallon minus 2 cups)
- 1 heaping cup of dry milk powder (one packet)
- approx. 1 cup starter yogurt****
Essential Equipment
- Large slow-cooker
- Meat thermometer (or other kitchen thermometer)
- Whisk
Turn your slow-cooker to High. Pour in the milk. Slowly sift the milk powder into the milk, whisking as needed to break up any lumps of powder.
Cover the slow-cooker and insert the thermometer into the vent hole in the lid. Let the milk heat until it reaches 180*F.
Once the milk has reached 180*F, turn off the slow-cooker. Rotate the lid of the slow-cooker to vent, making sure the thermometer stays in the milk. Let the milk cool to 115*F. Stir every 20-30 minutes, skimming off any skin that has formed on the surface of the milk.
Once the milk has reached 115*F, empty your starter yogurt into a large measuring cup or small bowl. Scoop about a cup of the warm milk over the starter yogurt and stir these together until fully incorporated. Then pour this mixture into the rest of the warm milk, stirring to fully incorporate.
Pour the milk-and-yogurt mixture into jars or other storage containers. Put the lids on these containers. Set them in an oven with the oven light on or in a cooler with a heating pad. Let the yogurt culture this way for 12-14 hours.
After the 12-14 hour culture period, move the containers to the refrigerator. Once the yogurt is cool it is ready to eat. Yogurt is good for up to a month.
Phew! That was a lot of explaining. You really do get the hang of it quickly, though, and the results are completely worth it. Now I need to try my hand at bagels!
Miss you, my dear. Talk to you soon!
–Caitlin
*Long, it’s just long, I know.
**Except I almost never actually start at 5:30pm. It’s usually an early afternoon thing, then I’m about to finish it all up before I realize, “Oh… I’m going to need to set an alarm tomorrow to wake up in time to put this darn yogurt in the fridge. Well. That’s not ideal.” I manage, certainly, but ugh, to set an alarm on a Sunday! No. Subtract between 16-18 hours from your normal Sunday wake-up time and start then and you will be a much happier yogurt-maker. Probably use 18 hours to start in case your slow-cooker warms more slowly than mine, so you’ll have a little extra time built in.
***Yes, that’s 14 cups. But it’s easier for me to just pour two cups into a measuring cup and then pour the rest into the crock. Plus I came to this amount really unscientifically: this is the amount that fills my slow cooker without making it so full that it’s hard to stir without spilling. So… use 14 cups, or however much it takes to fill your slow cooker to within an inch or so of the top. (And no, sadly, I do not know what size slow-cooker I have, that sucker’s box is long gone. I guess we can surmise I have an almost-one-gallon one, though, right?)
****There are a couple of factors to consider when choosing a good starter yogurt. You have to have a yogurt that says on the container that it contains “live active cultures”. You want a variety of strains of bacteria. You want a plain yogurt, and full-fat if you can find it. This time I could only find fat-free in my brand of choice, Fage. It has five strains of bacteria (if I remember correctly), and the yogurt it makes is delicious.
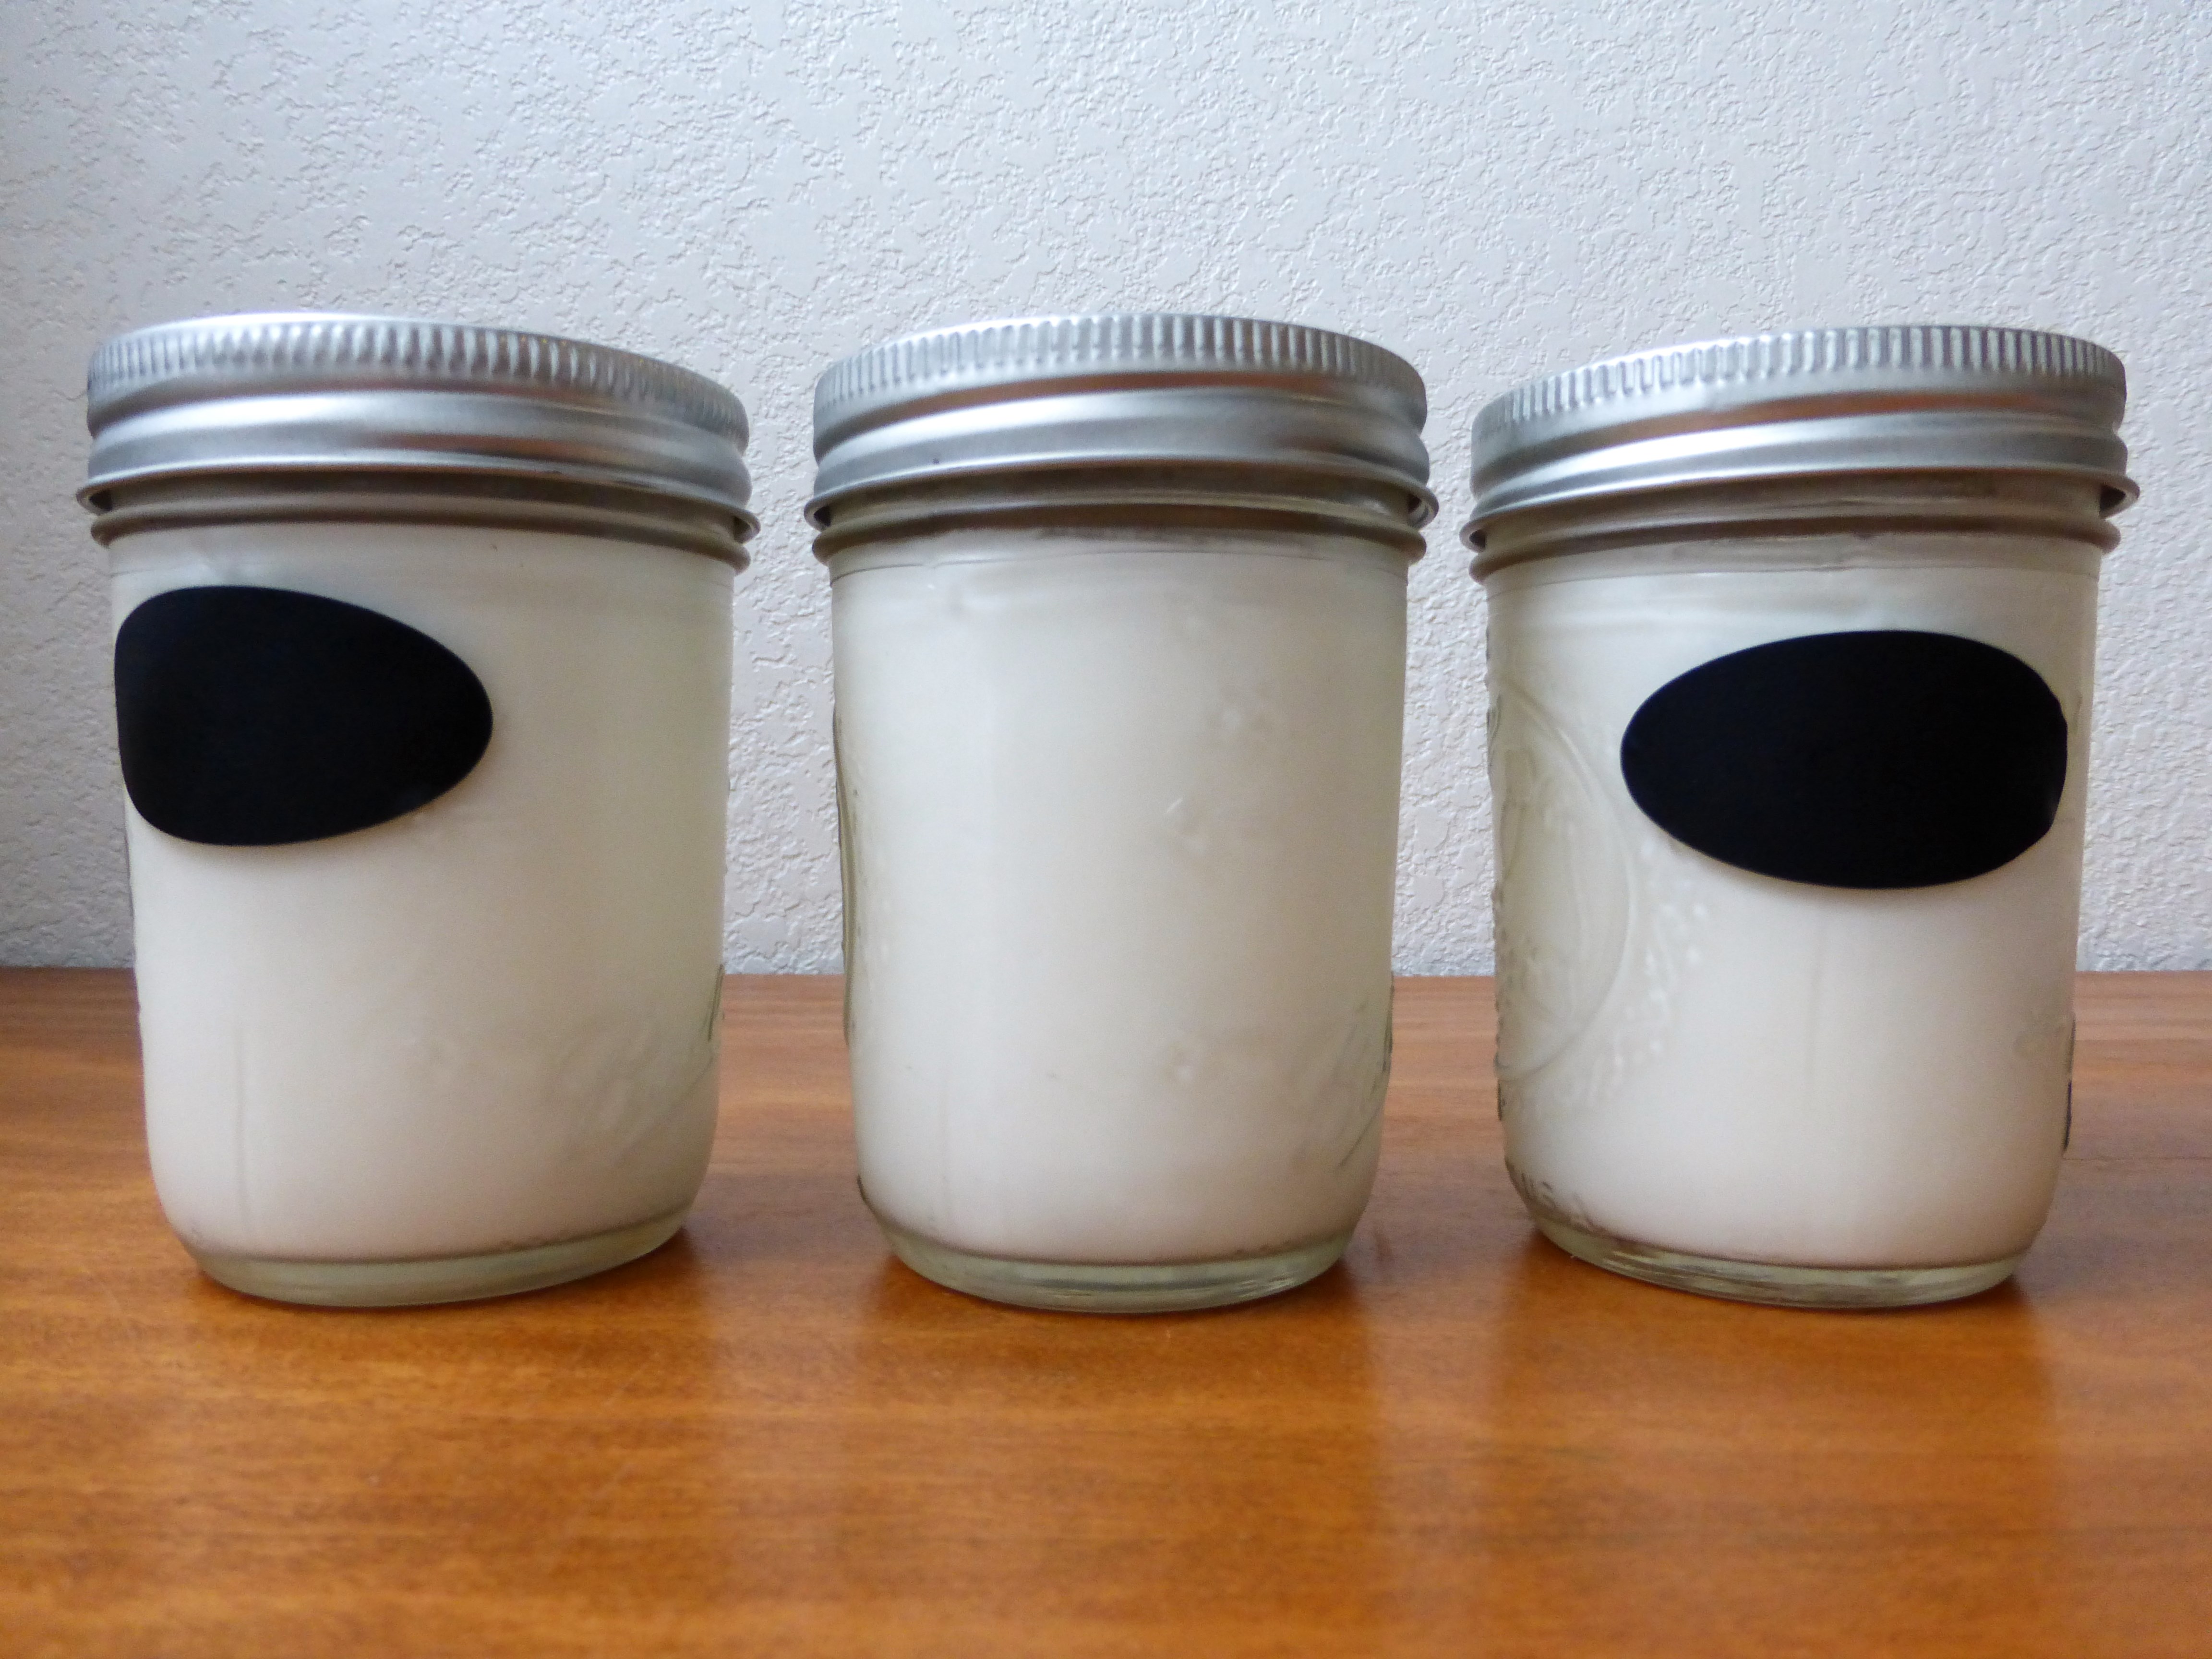
P.S. I got these adorable mason jars at somebody’s wedding. 🙂 I use them all the time, they are so useful and cute and sentimental!

1
1′”