Dear Kaki,
Did you bake growing up? I baked with my mom growing up and her signature recipe is her brownies. They are life changing, and in high school I adopted them as *my* signature recipe, too. I mean, wasn’t it awesome to be the girl that showed up with a pan full of homemade brownies?
But I always brought them and told everyone about how these are my mom’s famous brownies. And if someone asked me what my best dish was, it was obviously Mom’s Brownies. But not anymore! This, Kaki, is my Best Dish, my very own Signature Recipe: Carrot Cake Supreme.

The Carrot Cake to End All Carrot Cakes
This cake isn’t hard to make, but it does take time, and a level of comfort with candy-making comes in handy. The key is the buttermilk and the pineapple. The buttermilk adds such tang and moisture to the cake itself, and when added to the caramel glaze… oh my god. And the pineapple is just such a great surprise.
After a bit of web-searching, it turns out this recipe is from Southern Living. Click on the links below to view the full recipe from their site:
Carrot Cake Supreme with Buttermilk Glaze and Cream Cheese Frosting
The best part of the recipe link for the carrot cake is that Southern Living has a video of its assembly. It’s really helpful, especially to be able to see how the glaze comes together. I don’t know if you’ve made caramel or toffee or anything, but it changes so quickly that if you haven’t read and re-read the recipe, or know what to expect, it’s really easy to burn.
Overall, here are my tips for this recipe:
If you’re using 9-inch round cake pans, use parchment paper in the bottom of the pans, even though the recipe says wax paper. That’s just because wax and a hot oven doesn’t sound that tasty to me. I’m sure wax paper would work, but I’ll keep my parchment paper. Oh, and yes to greasing and flour-ing.
Today, however, I baked this cake in a bundt pan. Bundt pans have up-sides and down-sides. Upside: no layers, so frost once and done! Downside: such a deep cake it takes a while to cook. Upside: if you’re not going to frost it, it has pretty designs! Downside: those designs mean there’s no way to line this baby with parchment. Yup, you’ve got to trust the greasing and flour-ing process here. Here’s how to make sure this conversion goes off without a hitch:
- Spray the pan with cooking spray, or melt some butter and pour it into the pan. Using a pastry brush (or your own, well-washed hands), spread the spray/melted butter into every frickin’ nook and cranny of the pan. Make sure to also coat the inner spindle; it’s easy to forget and can be a serious sticking point when trying to release the cake.
- Spoon a few tablespoons of flour into the greased bundt pan, and swirl-and-tap (the technical term for this process) that flour around the bottom of the pan and up the sides. I’m sure you’ve done this before, but here again try to get flour on the spindle. Then, when you’re rotating the pan so the flour goes up to the edges, move so you’re over the sink so the excess flour can just fall into it. Then tap the snot out of that thing to get all the unnecessary flour out of the pan.
- A bundt pan is equal to two 9-inch round cake pans, so you need to use two-thirds of the cake batter in the bundt pan and one-third somewhere else. I used the extra to make one 9-inch round (for, um, my own enjoyment, since I was giving the bundt cake as a gift). To measure this from the bowl of batter, I just got my biggest spoon and spooned one spoonful of batter into the prepared 9-inch round for every two spoonfuls I put into the prepared bundt pan.
- It takes quite a bit longer to cook a cake in a bundt pan, since it’s so much deeper. I turned the heat down to 340F to help keep the cake from over-baking on the outside while the inside finished. And while the extra 9-inch round came out at 35 minutes, the bundt took a good 55.
- Even with all of my super careful preparation, this cake is so moist that I had a lot of trouble getting it to release from the pan. Also, I let it cool fully in the pan, which was probably not the best plan. However, a little more internet research yielded the following gem of a tip: boil a couple cups of water, either in your tea kettle or the microwave. Put a clean kitchen towel in your sink. Pour the boiling water over the towel to saturate it. Place the stuck bundt pan into the sink (open-side up) so that the heat and steam from the towel will help to release the cake from the pan. After ten minutes, take the pan out of the sink, and use the flip-it-onto-a-plate trick. (Do you know that trick? If not, let me know, I’ll find a good youtube video to demonstrate.) Worked like a charm!
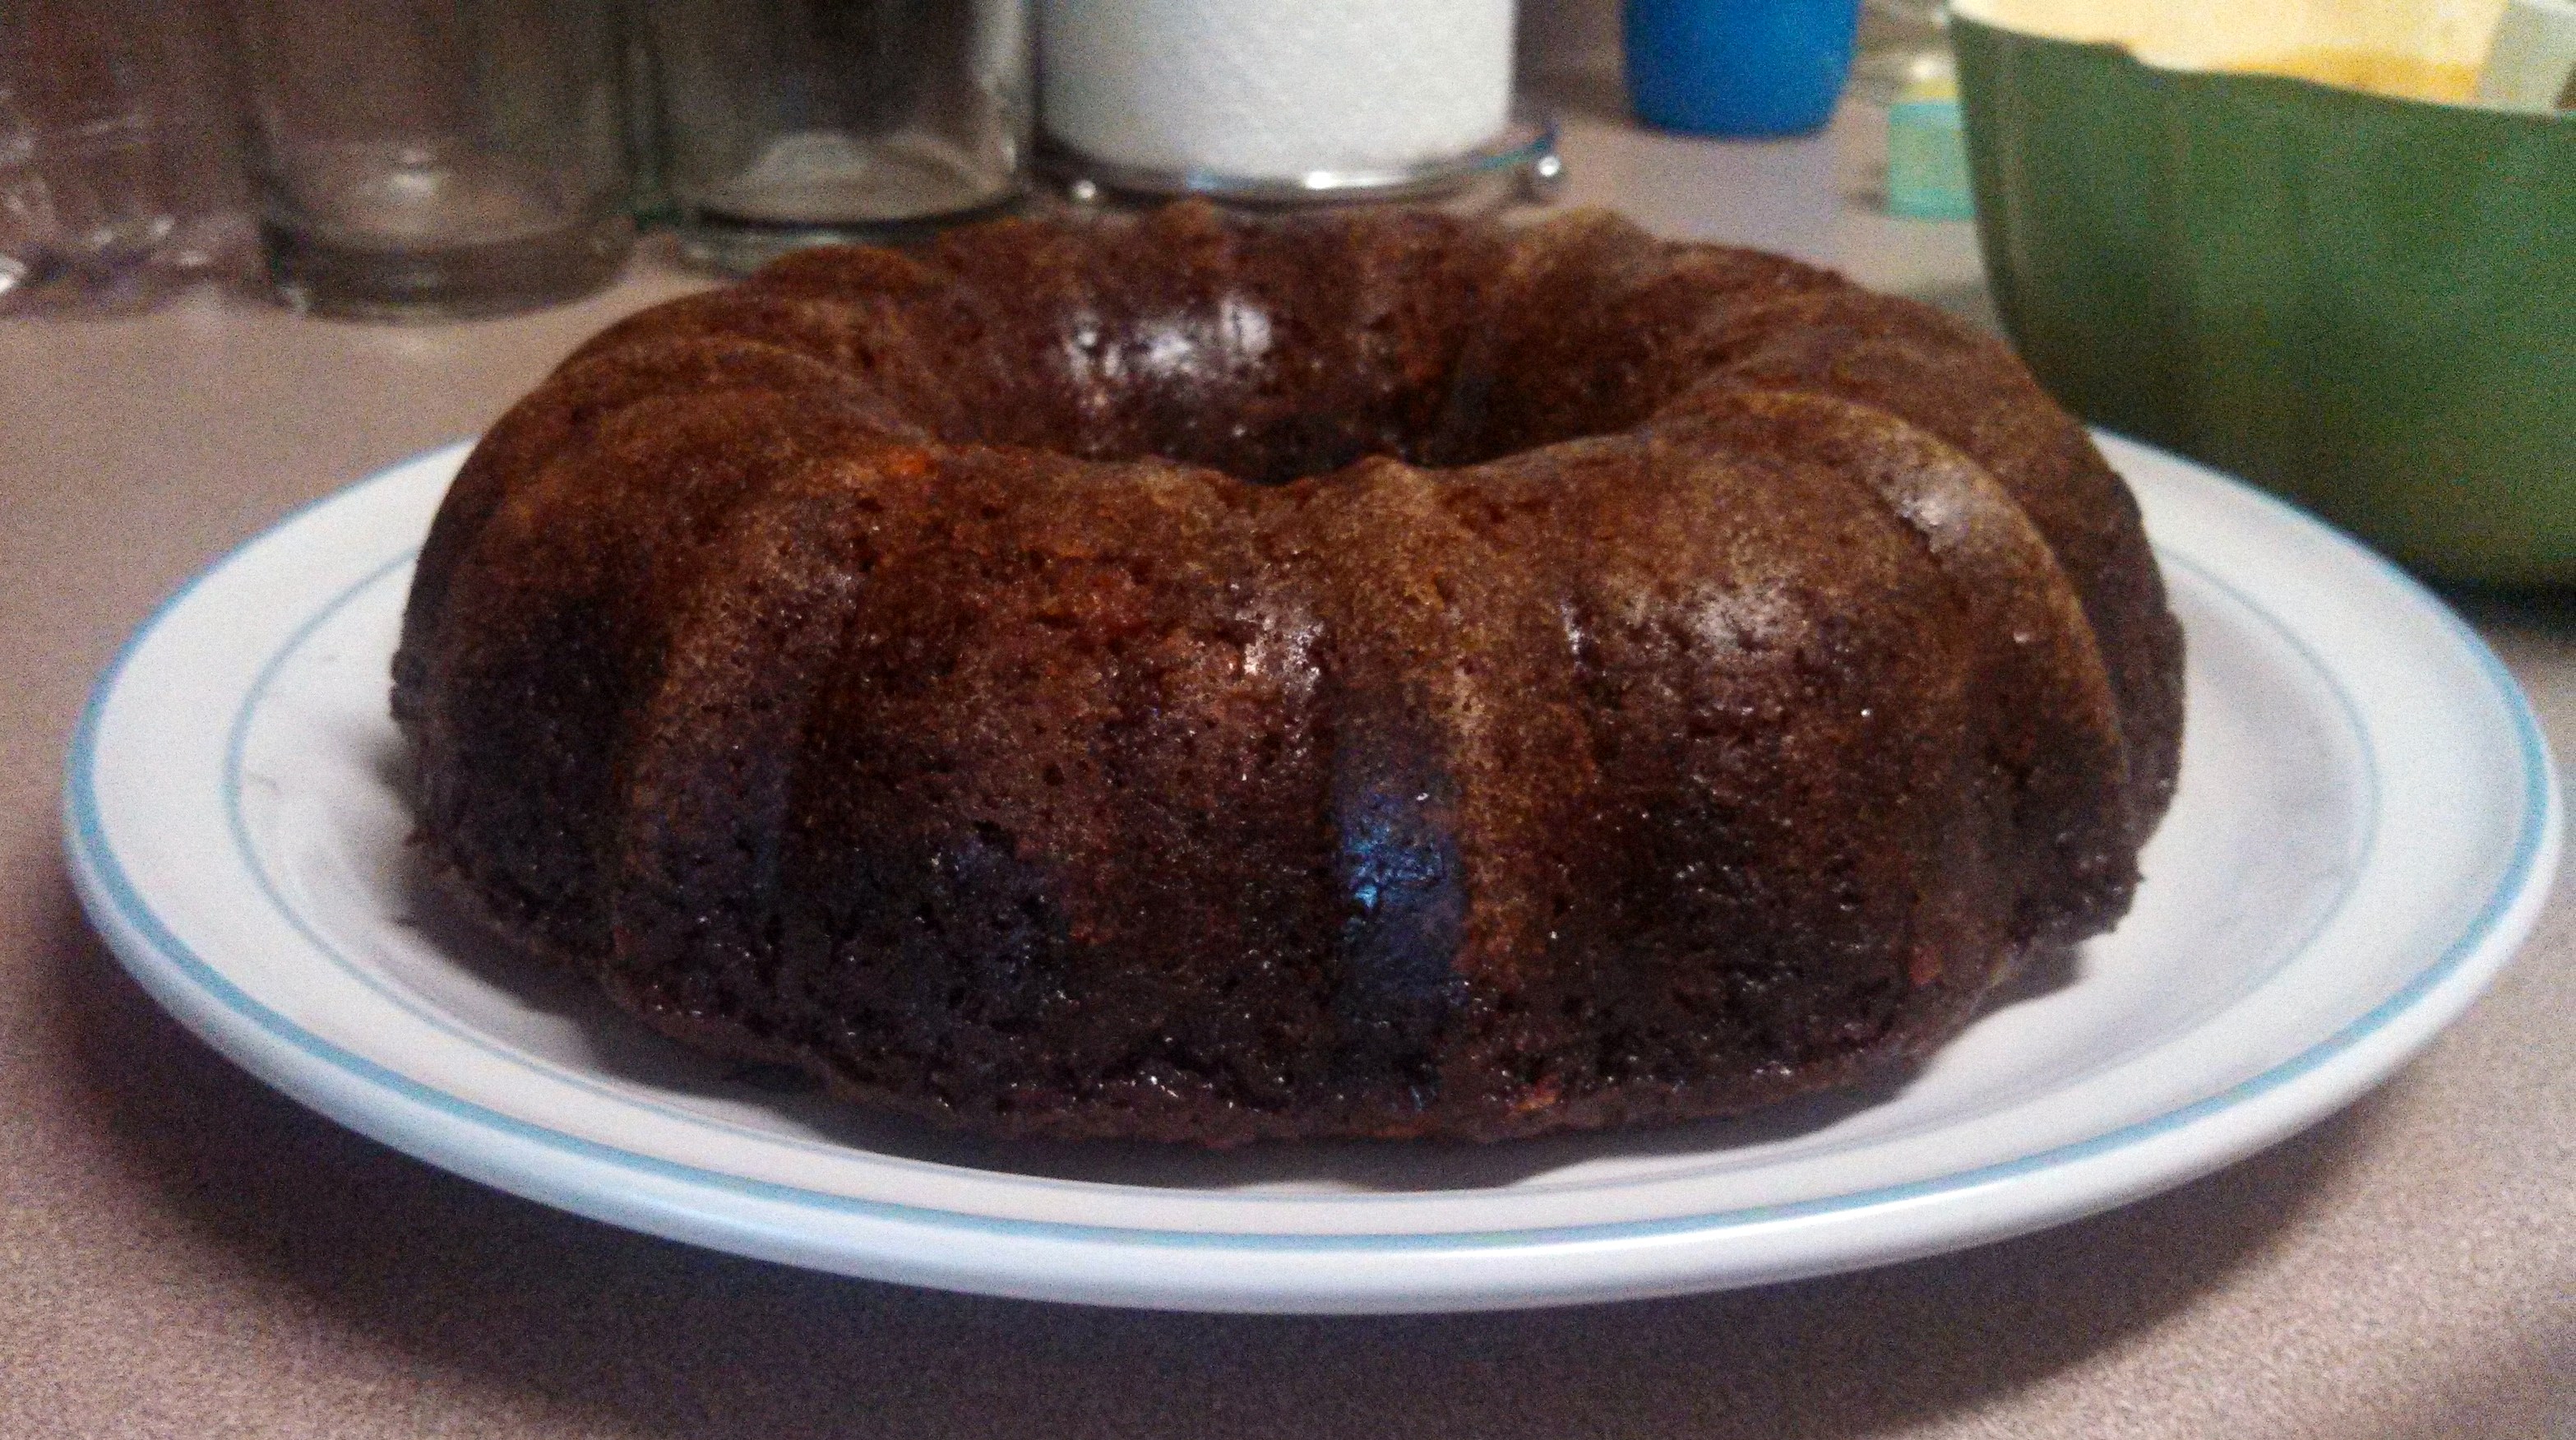
Finally released from the pan! And cleanly, too!
Kaki, I forget, are pecans one of the nuts you can have? I hadn’t used them as an ingredient for a while since they are pretty pricey, but man, I’d forgotten how sweet and tasty they are. You could substitute another nut or leave them out if need be, naturally.
This recipe calls for a 3.5 ounce can of coconut. Is that a thing? I’ve never seen coconut in a can that wasn’t coconut milk or coconut cream. Anyway, I just get the bag that’s in the baking aisle and measure out about 3.5 ounces on my kitchen scale and dump it on in.
The glaze. The Glaze! It’s basically a really thin caramel sauce, and it’s dead easy but you really have to watch it. Do not walk away from the glaze! Do not stop stirring the glaze! Though I was skeptical, you really can toss all the ingredients into the pot at once, but I heat it over low-ish heat to melt the butter almost all the way first. As you stir I use a rubber spatula and stir the inner-part of the pot, then the edges of the pot. The edges, being thinner, cook faster, and as you scrape the edges you’ll start to see caramel-colored streaks forming. You’ll also start to see steam puffing up from the mixture. Their four minute timing was spot on, by the way.

I didn’t have light corn syrup for the glaze, so I used golden syrup. It’s British and caramel-y and gooooood.
One of these days we will make this cake together. Or I will make it for you so I can rave about how awesome I am to make such an awesome cake.
Wishing you all the buttery goodness,
–Caitlin
P.S. Here’s my cake in action!

Serving up cake for our neighbor’s 50th Wedding Anniversary.
